I believe you are also interested in learning how to Build a Kitchen Island. No Worries! In this guide will discuss step-by-step instructions for making an island that improves the look and functionality of your kitchen.
Whether you’re an experienced do-it-yourselfer or a first-time homeowner with a plan, you’re about to start a journey full of creativity, usefulness, and endless options.
Just imagine Sarah, lost in a daydream, peering through the window of her brand-new house. As the sun lazily climbed above the horizon, it painted the cozy suburban streets with a gentle, golden light.
As someone who says they love cooking, she was thrilled at the thought of turning her kitchen into a place where she could be creative and useful.
But among the thoughts of tasty meals and lively meetings, one idea stood out like a bright light: the kitchen island. She had no idea that this seemingly simple addition would become the center of all her culinary experiences, a place where tastes mixed and memories grew.
Come with me on a journey as we learn how to make the perfect kitchen island, from careful planning to adding beautiful accents and everything in between.
Welcome to the heart of the home, where your cooking dreams come true and every meal is a unique experience.
So, let’s get started!
What Does Kitchen Island Mean?

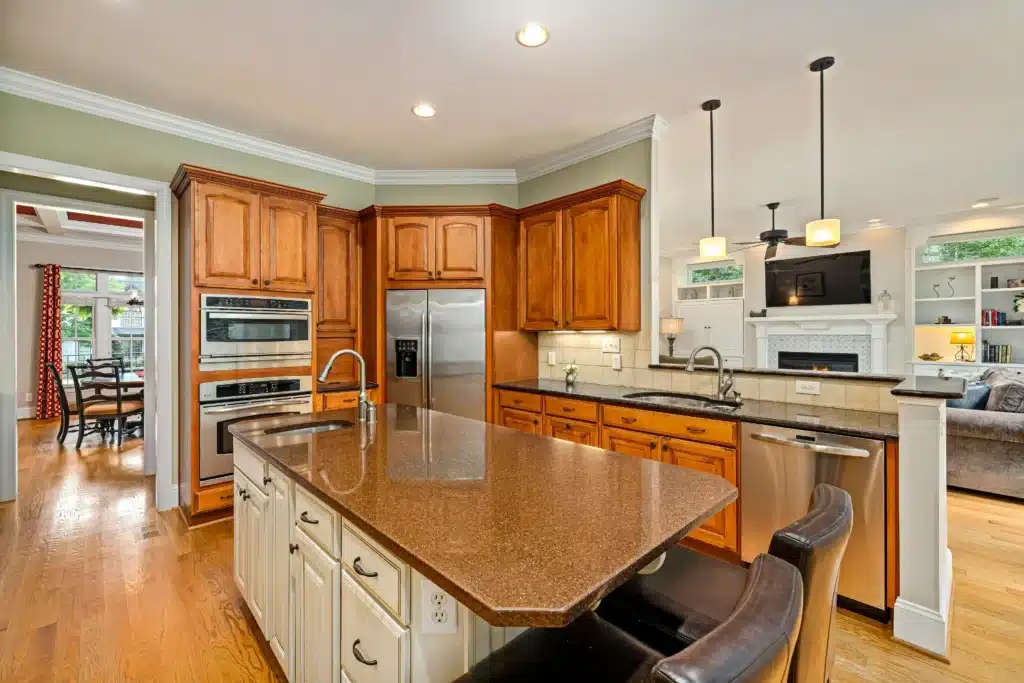
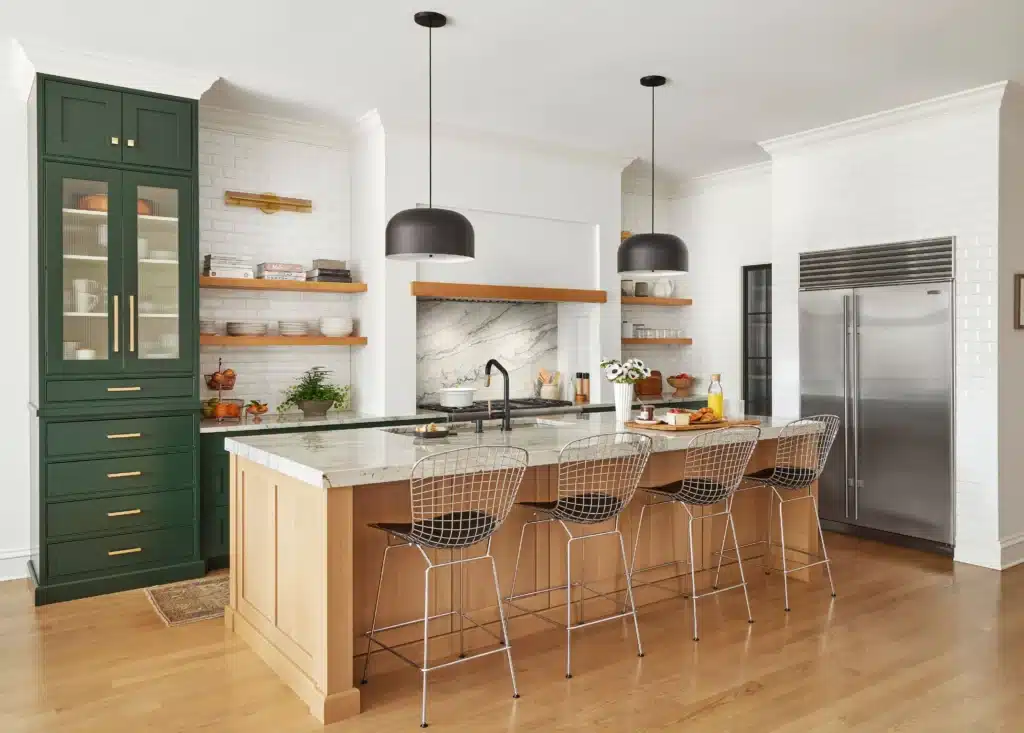
A kitchen island is a countertop surface that stands alone in the middle of the kitchen, usually away from the other countertops and cabinets.
It’s a flexible and helpful place that gives you more room to prepare meals, cook, and do other kitchen-related tasks. Kitchen islands often have built-in tools like stovetops or sinks, as well as places to sit for eating or casual get-togethers.
In addition to being useful, a kitchen island is also a main point in the room, which makes it look better overall.
It has more than one use and can make the kitchen more efficient, organized, and social. This makes it an important part of modern home design.
Understanding the Importance of a Kitchen Island
Knowing how important a kitchen bench is goes beyond what it does at eye level. It does provide extra counter room for preparing meals or an easy access point for a quick bite, but its importance goes far beyond that.
One of the most important parts of the kitchen is the island, which is where family and friends gather to eat, laugh, and tell stories. It turns the kitchen from a place to cook into a lively place where people gather and do things.
A well-designed kitchen island can make the whole room feel warmer and friendlier, even after the last dish is cleared away. This is because it seamlessly combines style and usefulness.
From making work more efficient to making it easier for people to talk to each other, the kitchen island is a key part of modern living areas.
Planning Your Kitchen Island
The first and most important step in making your kitchen island a cooking oasis is to plan it out.
First, take a close look at your space, paying attention to its size, how people move around it, and how your kitchen is currently set up. This review will help you figure out where and how big your island should be.
Next, think about what your family needs in terms of usefulness. Are you looking for extra space to store things, extra seats, or special appliances?
Figuring out exactly what you need will help with the planning process and make sure that your island meets all of your daily cooking needs. It’s also important to choose a design style that goes well with the style of your kitchen.
Whether you want a sleek, modern look or a warm, rustic feel, pick the materials, finishes, and details that fit your style and go with the rest of your home’s look.
Carefully planning these important parts will help you build a kitchen island that combines form and function in a way that looks great and makes your kitchen a cooking paradise.
How to Build a Kitchen Island: Gathering Supplies and Tools

Before you start building, you need to make sure you have all the materials and tools you need to make the right kitchen island.
To begin, get the basic things you’ll need to build your island. These include wood or pre-made cabinets, countertop materials, screws, and tools.
When choosing these materials, think about how long they will last, how they look, and how well they match the style of your kitchen.
In addition, make sure you buy good tools to make the building process go more easily. For accurate cutting, drilling, and putting things together, you need basic tools like a saw, drill, screwdriver, level, and tape measure.
When making your plan, you might also need special tools like a router for edge detailing or a nail gun for attaching things.
Once you have a wide range of materials and tools at your disposal, you can start making your dream kitchen island with confidence and accuracy.
Building the Foundation
It takes careful planning and execution to build the base of your dream kitchen island.
In order to start, you need to make sure the floor is level and big enough for your island.
Next, put in base drawers. These will be the strong frame for your island, giving you plenty of storage space and support. Make sure you measure correctly and tightly attach the cabinets to the wall to avoid any movement or instability.
Lastly, it’s important to secure support brackets under the island countertop so that the weight is spread out properly and the structure is strengthened.
These frames not only make your kitchen island more stable, but they also make it look better. When you carefully follow these steps, you set the stage for making your home the best place for cooking.
Constructing the Countertop

Building the tabletop for your kitchen island is an important part of making it because it determines how it works and how it looks.
First, choose the right surface material by thinking about things like how long it will last, how much upkeep it will need, and how nice it looks.
Whether you choose classic granite, sleek quartz, or warm butcher block, make sure the style of the counter fits with the rest of your kitchen.
Once you’ve made your choice, you’ll need to be very careful when cutting and fitting the countertop so that it fits perfectly with the base cabinets and has room for any tools or features you want.
To get a perfect fit, be sure to take accurate measurements and use good tools. Lastly, sealing the tabletop is very important to keep it safe from scratches, stains, and water damage.
Follow the manufacturer’s instructions for a good sealant and add any finishing touches, like edge profiles or decorative details, to make the island look even better.
If you pay close attention to every step, you can make a kitchen island that not only makes cooking better but also becomes the center of attention in your home.
Incorporating Storage Solutions
For your kitchen to be as useful and efficient as possible, you need to include storage options in your kitchen island.
Start by planning out how your cabinets will work for you, taking into account the size and shape of your tools, utensils, and pantry items.
Putting drawers and shelves inside the cabinets makes it easy to store and organize small things like spices, cutting boards, and cooking gadgets.
Adjustable shelves can hold things of different heights, making the best use of room. Adding organization items like pull-out trays, spice racks, or utensil dividers also makes things easier to get to and keeps them neatly put away.
By planning and putting these storage ideas into action with care, you can make a kitchen island that is not only the center of attention but also makes cooking and preparing meals easier.
Wiring and Plumbing Considerations
When designing the perfect kitchen island, it’s important to think about the water and wiring to make sure everything works well and is easy to use.
First, think about where to put electrical outlets and light sources so that they work with your appliances and cooking. Small tools, like blenders and mixers, can easily connect to power outlets by putting them along the sides or even inside the island.
Adding lighting features like pendant lights or recessed lighting not only makes the island look better, but it also gives you good lighting for your work area.
Second, you need to give your kitchen island a lot of thought if it has plumbing tools like sinks or dishwashers.
Make sure the placement is right so that it lines up with any current plumbing and includes any drainage systems that are needed.
There should be enough room for plumbing connections under the island, and you may need to talk to a professional plumber to make sure the work is done right.
If you carefully think about these wiring and plumbing issues, you’ll be able to make a kitchen island that combines style and usefulness without any problems.
Adding Stylish Accents
Adding stylish touches to your kitchen island design makes it look better and gives your cooking space more personality.
First, carefully pick out decorative pieces that go with the style of your kitchen, whether it’s sleek and modern or cozy and country.
To improve the look of the table, think about adding things like decorative panels, detailed moldings, or stylish hardware. Add a touch of your own style by adding personal touches like custom engraving or important patterns to the design.
Also, add to the island’s beauty by adding plants and other decorations. Bringing herbs or small plants inside in pots not only brings nature inside, but also makes the space feel fresh and alive.
Also, add bowls, cooking gadgets, or artwork that show off your style and way of life as accessories. By carefully choosing these stylish accents, you can make a kitchen island that is not only a useful center piece but also adds style and personality to your cooking area.
Maximizing Utility and Efficiency
To make a kitchen island that makes cooking easier and more fun, you need to make sure that it is as useful and efficient as possible.
First, improve workflow by placing tools, prep areas, and storage in a way that makes the cooking process go more smoothly.
The basic kitchen work triangle can help you get from the sink to the stove to the fridge more quickly.
To make the most of every inch of space, add features that can be used for more than one thing, like a built-in wine rack, a breakfast bar, or pull-out trash cans.
This multifunctional method not only makes your kitchen more useful, but it also makes it more flexible. Also, make sure that everyone can use the island by making it with movable heights, lots of knee space, and storage options that are easy to get to.
Whether you’re a professional chef or just like to cook sometimes, putting speed and ease of use first will make your kitchen island an essential part of your cooking space.
Maintenance and Care Tips
Taking care of and maintaining your kitchen island is important if you want it to look good and work well for years to come.
Start by cleaning and maintaining your island according to the instructions that came with the materials that were used to build it.
To keep surfaces clean, use a mild cleaner every so often and stay away from rough materials that could scratch or damage the shine.
For natural materials like stone or wood, you might want to use sealants or protective coats every so often to keep them from getting stained or damaged by water.
Troubleshoot common problems right away to keep them from getting worse. Fix any water leaks, loose hardware, or warped surfaces right away to keep the damage from getting worse.
By keeping up with maintenance and fixing problems right away, you can make sure that your kitchen island stays a beautiful and useful focal point of your cooking area for generations to come.
Eco-Friendly Options and Practices
Using eco-friendly materials and methods in the design of your kitchen island will not only help the environment but also make your cooking area last longer.
Start by choosing long-lasting materials and methods that care about the earth and produce as little waste as possible. To help the earth, choose wood that was harvested in a responsible way, recycled materials, or finishes that don’t have a big effect.
To make your kitchen island even more eco-friendly, think about getting tools and fixtures that use less energy.To use as little power as possible, choose appliances with high energy star ratings and install LED lighting.
By including these eco-friendly choices and methods in the design of your kitchen island, you’ll make a place to cook that meets your needs and fits with your desire to care for the environment.
Budgeting and Cost Considerations
Planning your budget and thinking about costs are important parts of building the right kitchen island while staying within your budget.
First, figure out how much the materials and work will cost. Don’t forget to include costs for things like countertops, cabinets, appliances, and installation.
Finding out how much different suppliers and companies charge can help you make a budget that works with your spending and spending goals.
Also, think about ways to save money without lowering the quality. Look for ways to reuse things you already have or look into cheaper options that will do the same job and last as long.
Also, to save money on work, you might want to do some things yourself, like painting or putting together cabinets. You can make your cooking hub without going broke if you carefully plan your budget and use ways to save money.
Safety Measures
Putting in place safety measures is very important when building your cooking hub, especially when it comes to fire safety and keeping kids out.
Set up fire safety measures first by putting a fire extinguisher close to the table and keeping flammable items away from heat sources.
Include a ventilation device to lower the risk of smoke and gas buildup while cooking. Equally important are childproofing issues, especially if you have little kids at home.
Install safety latches on cabinets and drawers to keep people from getting to sharp items or dangerous materials. To lower the risk of harm, think about getting countertops with rounded edges.
Incorporating these safety steps into your kitchen island will not only make cooking easier, but it will also give you and your family peace of mind.
Future Upgrades and Modifications
When building your culinary area, you should think about what upgrades and changes you might want to make in the future to make it last and meet your changing needs.
When you plan for the future, you have to think about how your cooking habits or the way your family works might change over time. For instance, you might think that you will need more storage room, better appliances, or better functionality.
Adding modular elements to your kitchen island design, like removable panels or adjustable shelving, that can easily handle future changes is one way to keep it up to date.
You can also easily make changes as your needs change by leaving room for growth or adding flexible features like an eating area that can be turned into a bed.
If you think about upgrades and changes you might want to make in the future when you are designing your kitchen island, it will be a flexible and long-lasting focal point of your cooking area for many years to come.
Conclusion
In conclusion, making the perfect kitchen island requires careful planning, attention to detail, and careful thought about many things, such as design, functionality, price, and long-term use.
By following the detailed steps in this blog post, you can turn your kitchen into a culinary hub that not only makes cooking more fun but also makes your home more valuable and appealing.
Putting together a strong base, adding stylish touches, and making the most of space are all steps that go into making a well-built kitchen island that fits your needs and tastes.
By focusing on safety, eco-friendliness, and future upgrade options, you can make sure that your kitchen island stays a flexible and long-lasting focal point for many years to come.
Whether you’re a professional chef or a passionate home cook, a well-made kitchen island will make your cooking space better and help you create many great moments with family and friends.
Frequently Asked Questions
How long does it typically take to build a kitchen island?
The time it takes to build a kitchen island can vary depending on factors such as design complexity, materials used, and labor availability. However, a typical kitchen island can take anywhere from a few days to a couple of weeks to complete.
Can I install a sink or stove in my kitchen island?
Yes, you can install a sink or stove in your kitchen island, but it requires careful planning and consideration of plumbing and ventilation requirements.
What are some space-saving strategies for smaller kitchens?Space-saving strategies for smaller kitchens include utilizing vertical storage, incorporating pull-out or fold-down features, and opting for multi-functional furniture.
How do I choose the right height for my kitchen island?
To choose the right height for your kitchen island, consider the standard countertop height (around 36 inches) and adjust based on your needs, such as accommodating bar stools or ensuring ergonomic workspace.
Are there any DIY kits available for building a kitchen island?
Yes, there are DIY kits available for building a kitchen island, providing pre-cut materials and instructions for assembly, making it easier for homeowners to create their culinary hub.